$3 Dollar Thrift Store Frame Makeover
- Apr 28, 2018
- 3 min read

I've been looking for a large frame to fit this picture of Christ for my living room and they are not cheap. I needed a 16x20 inch frame and wanted it to be solid wood with the shabby look and most of the ones I was looking at were between $30-$50. This was way more then I wanted to spend so I decided to check out my local thrift store for a nice solid frame and I figured I would "SHABBY" it up myself. Here's everything you'll need for this project.
Supplies
Wood frame from thrift store - Mine cost $3 which was a huge steal!!!
Chalk Paint - I made my own since I had white paint left over from painting our house and I also had some Plaster of Paris left over from the last time I made chalk paint. I used a 1-4ish ratio. I kind of just scope some Plaster of Paris into my paint and mix until I think it looks good. But if your starting from scratch I would recommend using this Chalk Paint.
Paint Brush - I just used what I had on hand
Sand Paper - I used the finest sandpaper I had which was 180 grit. This allows you to get a really smooth finish. It also allows you to only take off just a little paint at a time so you don't go too deep when your making it rustic.
Step One: Get your frame! I cleaned mine up with a wet rag since it was pretty dusty from being at the thrift store.

Step Two: Mix up your chalk paint. 1-4ish ratio. 1 part Plaster of Paris to 4 parts paint. If your using store bought Chalk Paint shake it up good before opening the can.

Step Three: Paint the frame. I did 2 coats to make sure it covered everything evenly. In the video below you can see what it looked like after 1 coat. You could still see some of the wood peaking through so it definitely needed 2 coats.

Here is what it looked like after 2 coats, right before I started sanding. I let mine sit overnight to dry good. Chalk paint dries pretty quickly so if your in a hurry you probably don't have to wait that long but it's a good idea to let the paint cure good so you can really control where the sanded spots show through.

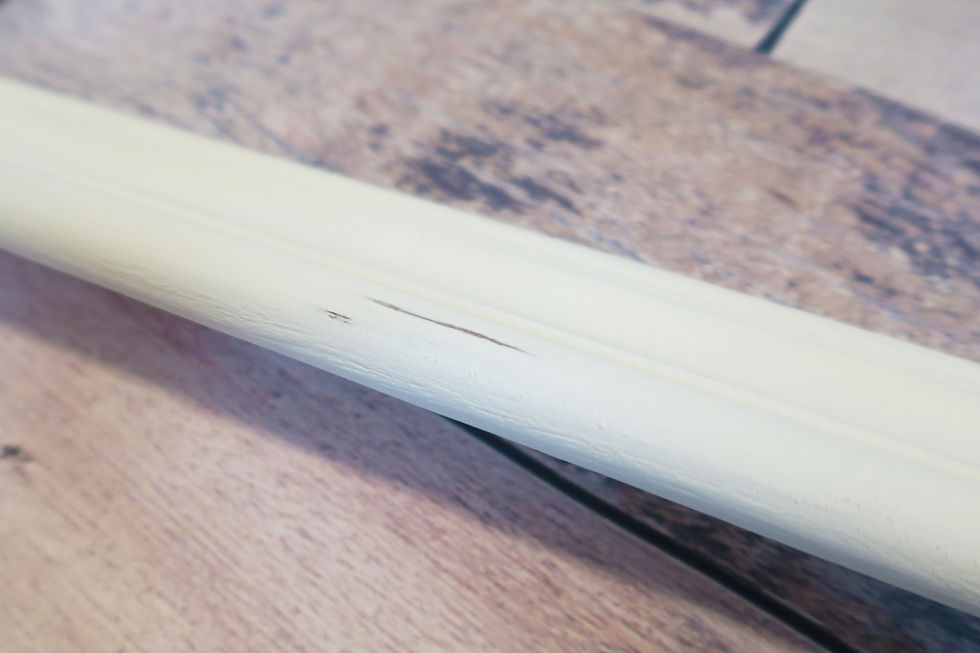
Step four: Sand the chalk paint smooth and roughen up any spots you want the wood to show through. I wanted a very subtle rustic look so I didn't go to crazy with the sanding. This is the fun part because you can just be creative and keep sanding until you have a look you like. Here are some closeups of the spots of wood that show through.

Final Step: Just dust it off and add your picture and your done!


I seriously love how this turned out. It was very simple and easy on the budget. I mean who can go wrong with a $3 frame? Check out the video below to see the process.
*****Disclaimer: The links used are affiliate links and I do make a small commission from them. This does not increase the price of the product for you it just helps me continue doing what I do.*****


Comments